

Hey there! As an embossing mold supplier, I've seen firsthand how crucial it is to adjust the pressure correctly when using an embossing mold. In this blog, I'll share some tips and tricks on how to do just that.
First things first, let's talk about why pressure adjustment is so important. When you're using an embossing mold, the pressure you apply determines the quality and clarity of the embossed design. If the pressure is too low, the design may not be well-defined, and it might look faint or incomplete. On the other hand, if the pressure is too high, you could damage the mold or the material you're embossing, and it might even cause the material to break or deform.
So, how do you find the right pressure? Well, it depends on a few factors, like the type of material you're using, the design of the embossing mold, and the equipment you're working with.
Understanding Your Material
Different materials have different properties, and they react differently to pressure. For example, softer materials like leather or thin plastics may require less pressure compared to harder materials like metals or thick plastics.
If you're working with a soft material, start with a low pressure setting. You can gradually increase the pressure until you get the desired embossing effect. Keep in mind that you don't want to overdo it, as too much pressure can cause the material to stretch or tear.
On the other hand, when working with a hard material, you'll likely need more pressure. But be careful not to go too high right away. Start with a moderate pressure and test the embossing on a scrap piece of the same material. This way, you can see how the material responds before you work on your actual project.
Considering the Mold Design
The design of the embossing mold also plays a significant role in pressure adjustment. Intricate or detailed designs may require more pressure to ensure that all the fine details are clearly embossed. In contrast, simpler designs may need less pressure.
If you're using a mold with a lot of fine details, you might want to increase the pressure slightly. However, make sure you're still within the safe limits for the material you're using. You can also try adjusting the pressure in small increments and checking the results after each adjustment.
The Equipment You're Using
The type of embossing equipment you have can affect how you adjust the pressure. Some embossing machines come with built - in pressure gauges, which make it easier to set and control the pressure. If your machine has a pressure gauge, refer to the manufacturer's instructions to understand how to read and adjust it.
For machines without a pressure gauge, you'll have to rely on trial and error. Start with a low pressure and gradually increase it while monitoring the embossing quality. You can also ask the equipment manufacturer for some general guidelines on pressure settings for different materials.
Step - by - Step Pressure Adjustment
Here's a simple step - by - step process to help you adjust the pressure when using an embossing mold:
- Prepare Your Materials and Equipment: Make sure your embossing mold is clean and properly installed in the machine. Have your material ready and set up your embossing equipment according to the manufacturer's instructions.
- Start with a Low Pressure: If you're not sure where to begin, start with the lowest pressure setting on your machine. Place a scrap piece of the material you'll be using under the embossing mold.
- Make a Test Emboss: Activate the embossing machine to make a test emboss on the scrap material. Take a close look at the embossed design. If it's too faint or incomplete, you'll need to increase the pressure.
- Adjust the Pressure: If the test emboss isn't satisfactory, increase the pressure in small increments. For example, if your machine allows you to adjust the pressure in units, increase it by one or two units at a time.
- Repeat the Test: After each pressure adjustment, make another test emboss on a new scrap piece of material. Keep doing this until you achieve the desired embossing quality.
- Finalize the Pressure: Once you're happy with the test emboss, you can use the same pressure setting for your actual project.
Common Mistakes to Avoid
- Over - Pressurizing: As I mentioned earlier, over - pressurizing can damage the mold and the material. It's better to start low and gradually increase the pressure than to start too high and risk ruining your work.
- Not Testing on Scrap Material: Skipping the test on a scrap piece of material can lead to mistakes on your actual project. Always test the pressure on a scrap piece first to avoid wasting your materials.
- Ignoring the Mold and Material Compatibility: Different molds and materials have different requirements. Make sure you understand the compatibility between the embossing mold and the material you're using before you start adjusting the pressure.
Related Products
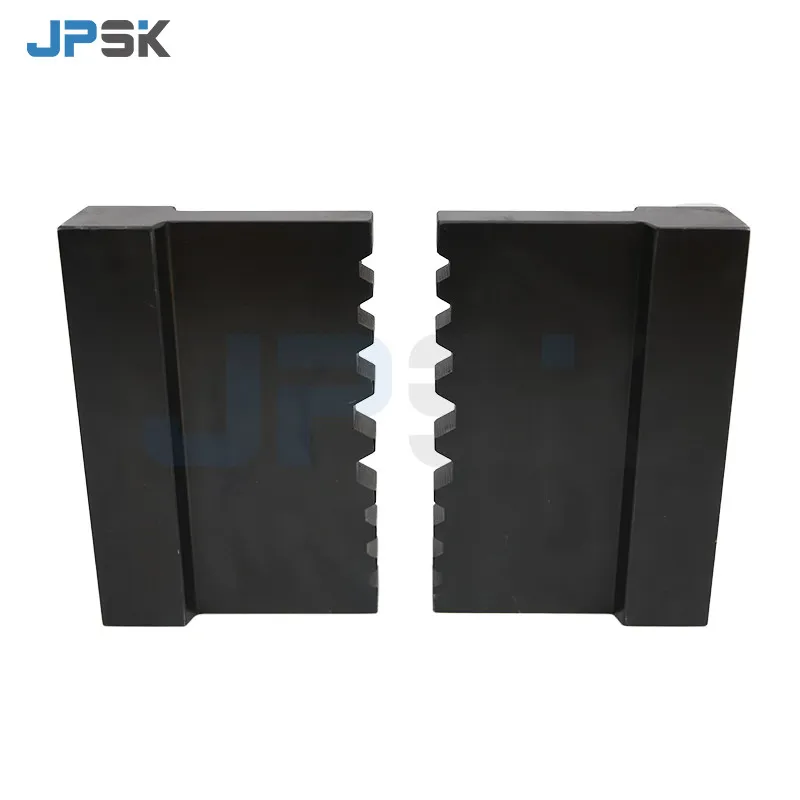
If you're interested in other types of molds, we also offer Cable Connector Processing Mold and Copper Rod Bending Mold. Of course, our Embossing Mold is designed to provide high - quality embossing results when used with the right pressure adjustment.

Contact for Purchase
If you have any questions about our embossing molds or need more information on pressure adjustment, feel free to reach out. We're here to help you get the most out of our products. Whether you're a small - scale crafter or a large - scale manufacturer, we can provide you with the right embossing mold solutions.
References
- General knowledge from years of experience in the embossing mold industry.
- Manufacturer's manuals of embossing equipment and molds.


