

Hey there! As a supplier of seamless bending molds, I'm super stoked to share with you how to install one. Whether you're a DIY enthusiast or a professional in the industry, getting this right is crucial for smooth operations.
Why Install a Seamless Bending Mold?
Before we jump into the installation process, let's quickly chat about why you'd want a seamless bending mold in the first place. These molds are a game - changer when it comes to bending various materials. They offer a more precise and consistent bend compared to other types of molds. With a seamless design, you can avoid those annoying kinks and uneven bends that can mess up your project.
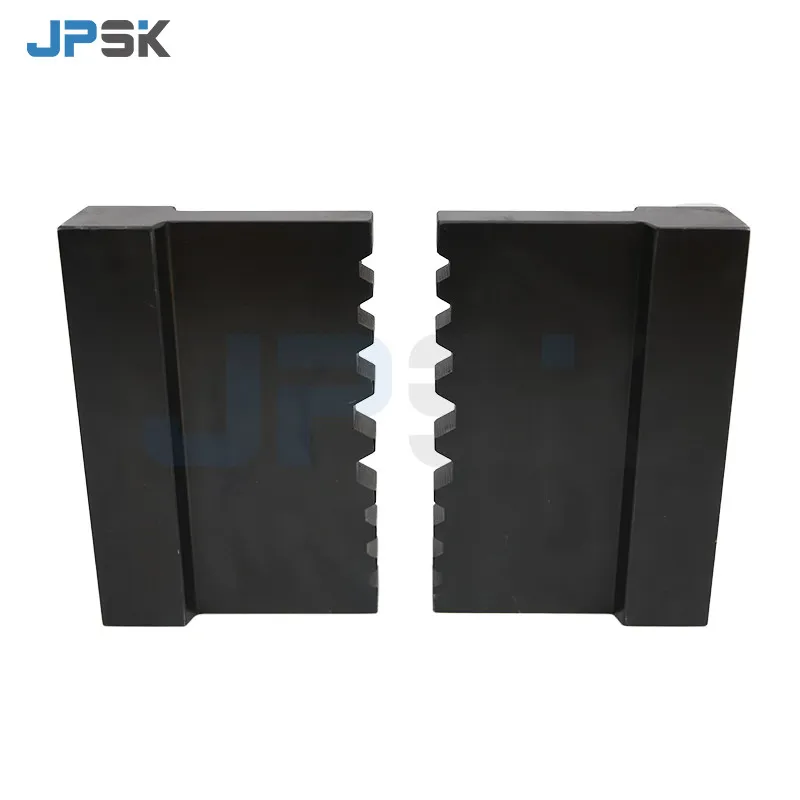

We offer a range of seamless bending molds, like the Cable Connector Processing Mold, Flat Bending Mold, and Copper Rod Bending Mold. Each is designed to meet different needs, so you can find the perfect fit for your specific application.
Pre - installation Checks
First things first, you need to do some pre - installation checks. This is like the warm - up before a big workout.
Check the Mold
Inspect the seamless bending mold thoroughly. Look for any signs of damage, like cracks or dents. If you find any issues, don't try to install it right away. Contact us, and we'll help you figure out the best solution, whether it's a replacement or repair.
Check the Bending Machine
Next, take a good look at the bending machine where you'll be installing the mold. Make sure it's clean and free of any debris. Check the machine's specifications to ensure that it's compatible with the seamless bending mold you've got. You don't want to force a mold onto a machine that's not meant to handle it, as that can lead to all sorts of problems down the line.
Gather Your Tools
You'll need a few tools for the installation. These usually include wrenches, screwdrivers, and maybe a measuring tape. Having the right tools on hand will make the installation process a whole lot easier and quicker.
The Installation Process
Now, let's get into the nitty - gritty of installing the seamless bending mold.
Positioning the Mold
Carefully place the seamless bending mold in the correct position on the bending machine. This might take a little bit of trial and error, but it's important to get it right. Use your measuring tape to ensure that the mold is centered and aligned properly. If it's not positioned correctly, the bends you make won't be accurate.
Securing the Mold
Once the mold is in the right position, it's time to secure it. Use the wrenches and screwdrivers to tighten the bolts or screws that hold the mold in place. Make sure you don't over - tighten them, as this can damage the mold or the machine. Just get them tight enough so that the mold doesn't move during operation.
Testing the Installation
After you've secured the mold, it's a good idea to do a quick test. Run the bending machine with a scrap piece of material. This will let you see if the mold is working as it should. Check the bends to make sure they're smooth and consistent. If you notice any problems, like the material not bending properly or the mold moving, stop the machine immediately and double - check the installation.
Post - installation Tips
Once you've successfully installed the seamless bending mold, there are a few things you should keep in mind.
Regular Maintenance
Just like any piece of equipment, your seamless bending mold needs regular maintenance. Clean it after each use to remove any debris or residue. Check the bolts and screws periodically to make sure they're still tight. This will help extend the life of the mold and keep it working at its best.
Training
If you're working in a team, make sure everyone who will be using the bending machine with the new mold is properly trained. They should know how to operate the machine safely and how to get the best results with the mold.
Troubleshooting
Even with the best installation, you might run into some issues. Here are a few common problems and how to fix them.
Uneven Bends
If you're getting uneven bends, it could be because the mold isn't positioned correctly or isn't secured tightly enough. Check the positioning and tightening of the mold, and make any necessary adjustments.
Material Jams
Sometimes, the material might get jammed in the mold. This could be due to a problem with the material itself or the way it's being fed into the machine. Make sure the material is clean and free of any defects. Also, check the feeding mechanism of the bending machine to ensure it's working properly.
Conclusion
Installing a seamless bending mold isn't rocket science, but it does require some attention to detail. By following the steps we've outlined here, you should be able to get your mold up and running smoothly. Remember, if you have any questions or run into any problems during the installation or use of the mold, we're here to help.
If you're interested in purchasing a seamless bending mold or need more information about our products, don't hesitate to reach out. We're always happy to have a chat and help you find the perfect mold for your needs. Whether you're looking for a Cable Connector Processing Mold, Flat Bending Mold, or Copper Rod Bending Mold, we've got you covered.
References
- General knowledge from the bending mold industry
- In - house product manuals and guides


